BUILD
Design + Build
Professional and eye-catching! We design and build your small business a site that showcases your products and services.
SUPPORT
Host + Maintain
You’re busy! Don’t worry about maintaining the site – CavetTek will do that for you.
MARKET
Marketing + SEO
Drive traffic! Ensure that your current and future customers find your business.
CavetTek applies the best of technology and design to ensure that your website matches the pride you take in your small business.

Our services are focused to ensure that you do not have to worry about your digital representation and can instead focus on what you do best – running your business.
CavetTek began to build high-quality websites for small businesses. Combining a strong technical background with design and psychology backgrounds, we ensure that your website accurately reflects your business.


Our website projects and marketing services extend across small businesses of all types. See how we bring high-quality representation to our customers on the web.
News / Articles / Posts
CavetTek Blog – Website Information and Resources
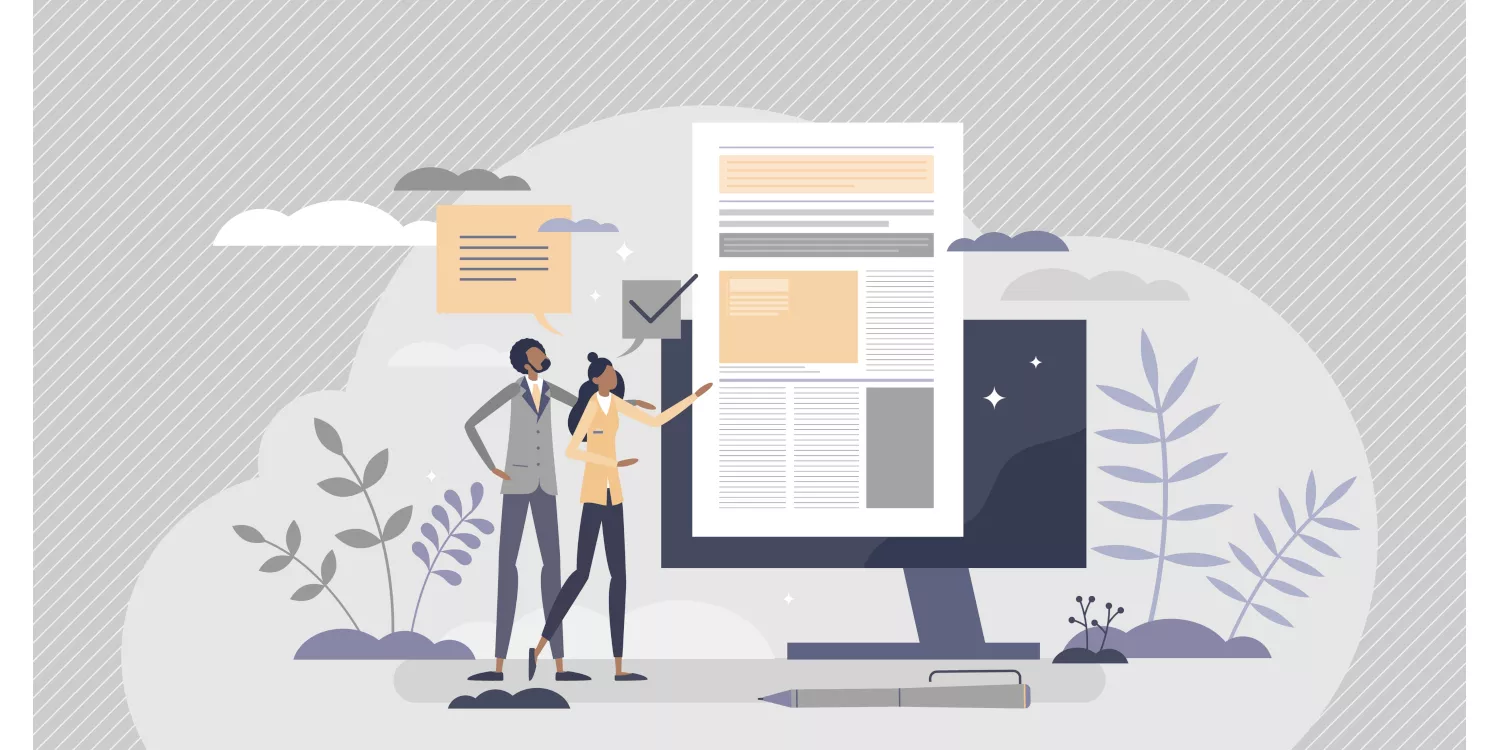
The Essential Small Business Website Pages
Learn about the essential pages that you should focus on when building your website and why those pages are important to your success.
Show It Off! Show Your Work to Your Customers
When your customers visit your website, they want to see what you do. Photos, video, and audio can increase sales and drive revenue.

Creating a Customer-Focused Website
"A website is about your business but for your customers." Learn some common mistakes made by small business websites and how you can design your site so that your customers receive the benefits.

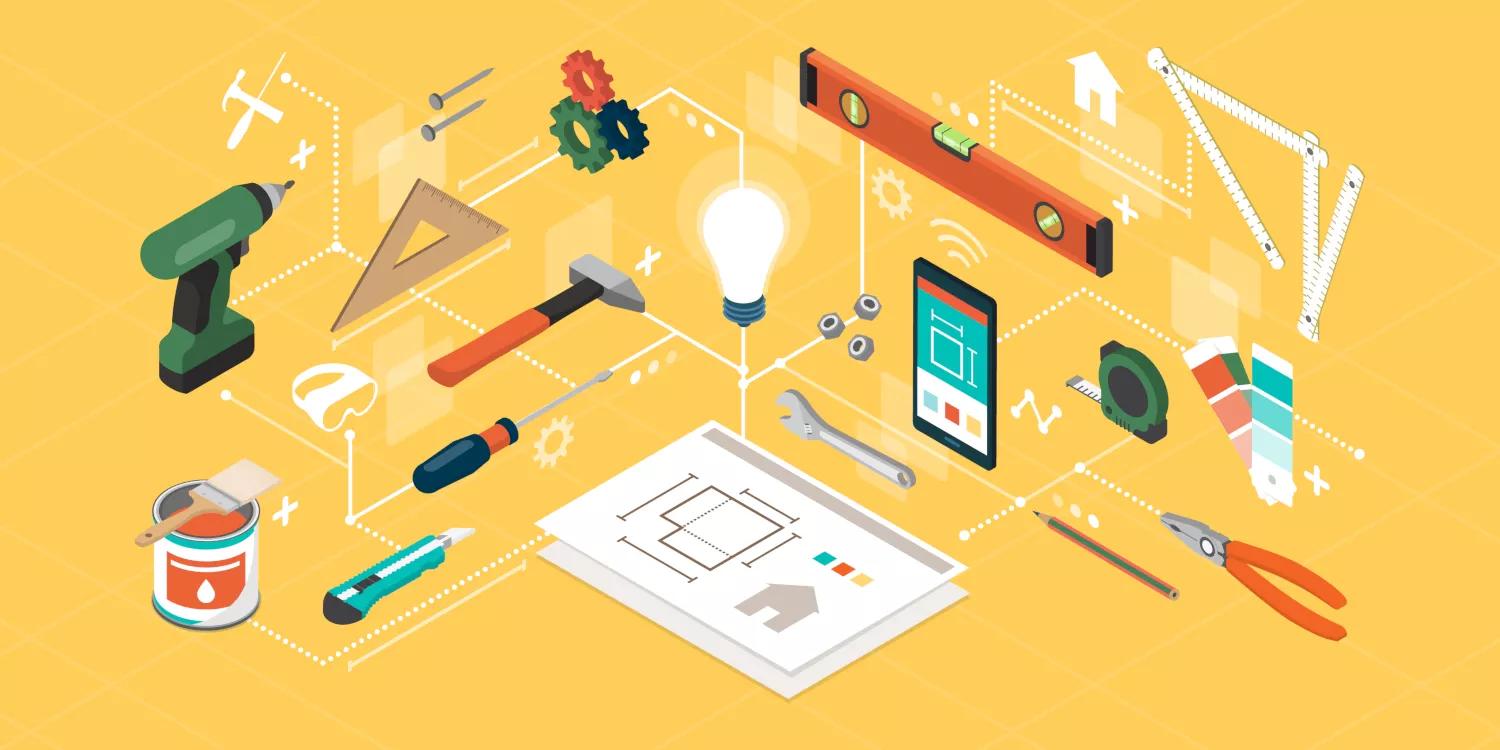
7 Considerations When Buying a Small Business Website
Explore 7 things that you should consider when buying a website for your business so you can plan and understand how to position your website for success.
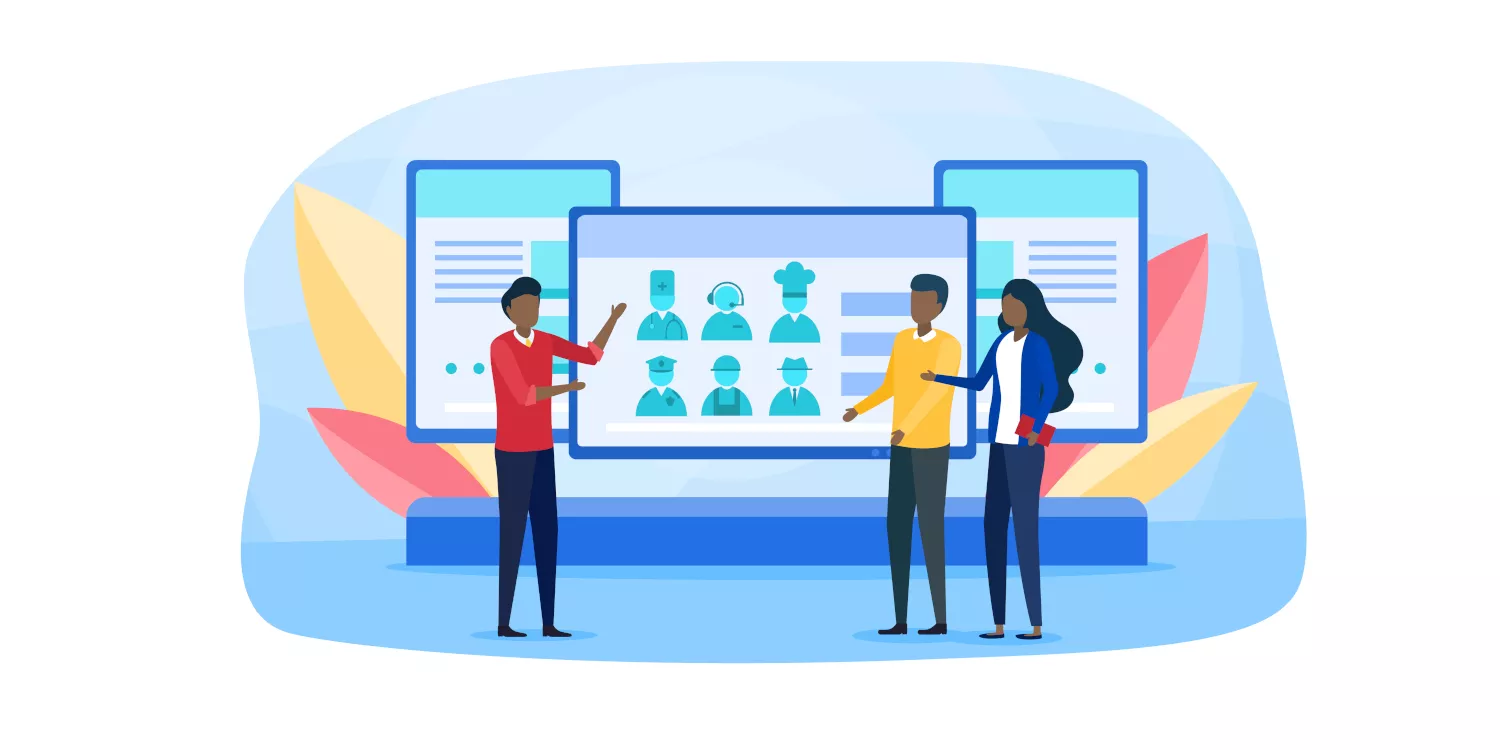
Hire or Build? Why Should You Hire a Web Designer?
With so many options to allow small business to build websites - and potentially save money - what should a small business owner consider when trying to build vs. buy? Here are a number of positives and negatives to consider.